

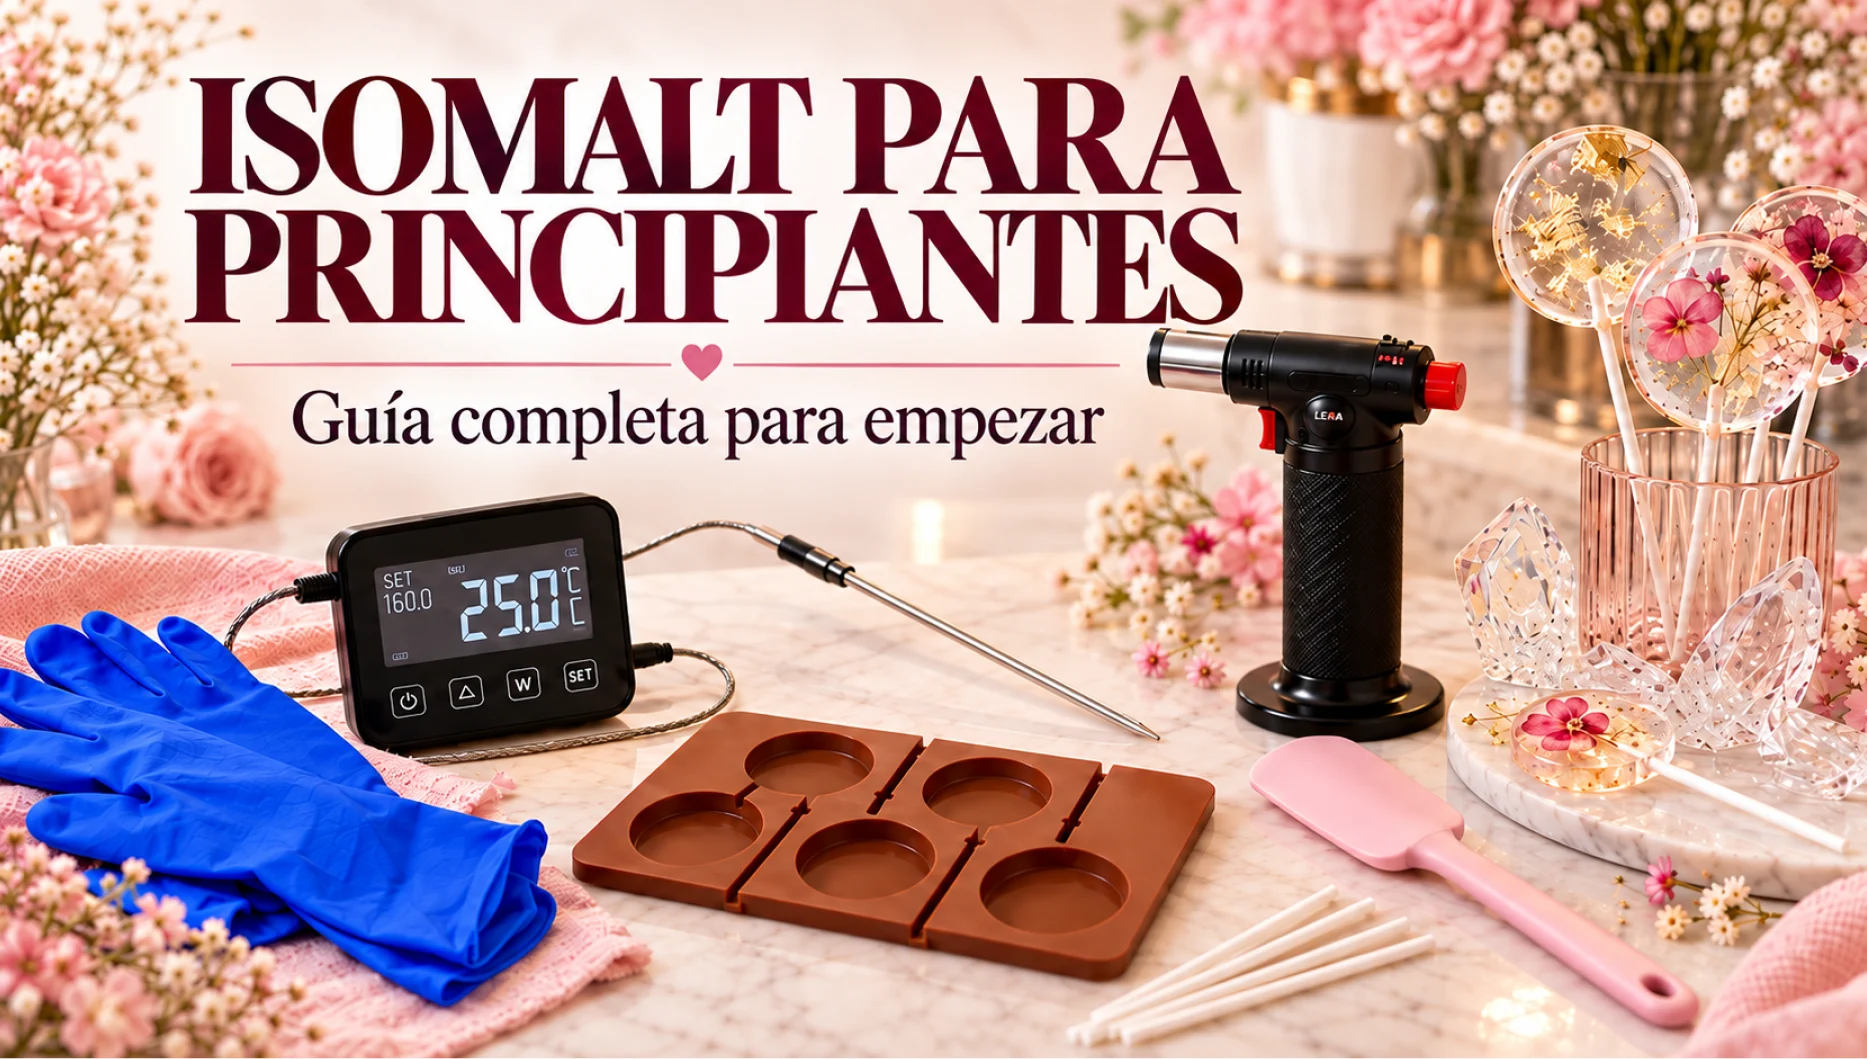
If you’ve just discovered isomalt and are thinking about starting to work with it, one of two things is probably happening to you:
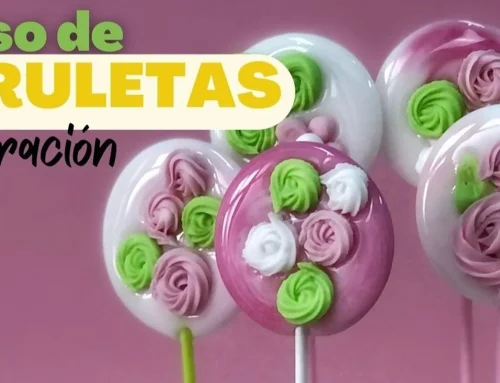
Option A: You saw some gorgeous transparent lollipops and thought, “I want to make those.” 😂
Option B: You’ve bought a bag of isomalt, it’s in front of you, and right now you have no idea what to do with it.
Don’t worry, because we’ve all started somewhere.
Isomalt may seem complicated at first because we work at high temperatures, it changes texture rapidly, and it has a declared enemy that appears just when we least need it:
humidity.
But when you understand how it behaves, everything starts to make a lot more sense.
In this guide I’m going to explain what isomalt is, how it’s baked, what materials you need, what the most common mistakes are, and what you should know before making your first lollipops.
We’re starting from scratch.
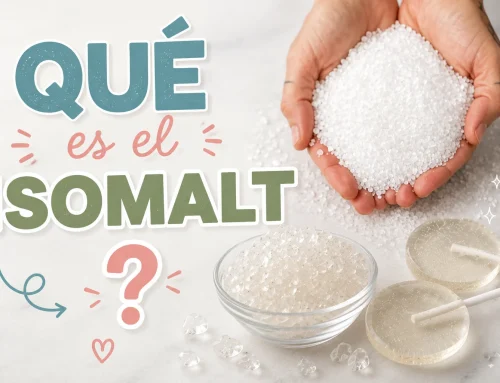
What is isomalt?
Isomalt is an ingredient used in baking and confectionery as a sugar substitute.
When we buy it, it usually comes in small white grains or crystals.
But when we cook it, it transforms into a caramel that can become practically transparent.
And that’s where the fun begins.
With it we can do:
- Lollipops.
- Candies.
- Transparent decorations.
- Figures.
- Decorative elements for cakes.
- Decorations with flowers.
- Lollipops with sprinkles.
- Designs with edible prints.
Its transparency is precisely one of the characteristics that offers us the most possibilities.
Before we begin: isomalt burns. A lot.
I don’t want to scare you, but this needs to be clear from the beginning.
To properly cook isomalt, we will reach temperatures of up to 180ºC.
And the hot caramel sticks to the skin.
So we don’t work here:
“Just a moment, I’m going to touch it to see if it’s ready.”
No. 😂
Always work in an orderly manner, prepare everything before starting, and avoid having children nearby while handling hot isomalt.
What materials do I need to get started?
You don’t need to fill the kitchen with utensils, but there are some things that I consider essential.
Isomalt
Obviously. 😄
To really learn how it behaves, I like to start by working with granulated isomalt and learning how to cook it properly.
A saucepan
You don’t need a separate saucepan for isomalt.
What you do need to do is check that it is perfectly clean and, above all, that it has no trace of grease.
This is important.
Before using it, make sure there are no traces of butter, oil, or any other type of fat left.
Thermometer
There is no negotiation here:
A thermometer is essential for cooking isomalt.
When you’re cooking isomalt, we need to control the temperature and know exactly when we’ve reached the right point.
I don’t recommend trying to do it “by eye,” especially when you’re starting out.
Temperature gives us objective information and helps us avoid one of the major problems with isomalt:
burn it.
Silicone molds
To work with isomalt you must use silicone molds suitable for high temperatures.
No plastic molds.
Isomalt is at very high temperatures and the plastic can melt or deform.
So, for this type of work:
silicone.
Thick latex gloves
When it comes time to handle certain parts, you will need to protect your hands.
We use thick latex gloves to work with isomalt.
Not some very thin gloves that practically feel like a second skin.
We need a thickness that will help protect us from the heat during handling.
Lollipop sticks
Always use food-grade chopsticks and have them ready before you start working. 😉
When you have the isomalt ready, it’s not the time to discover that the sticks are still inside the cupboard.
Heat-resistant spatulas and tools
Everything that will come into contact with isomalt must withstand the temperatures we are working with.
Silicone tools suitable for high temperatures are especially useful.
The blowtorch: not for cooking, but for working
A blowtorch is not necessary to cook isomalt.
But if you’re going to work with decorations, for me it’s an absolutely necessary tool.
We will use it, for example, for:
- Remove small surface bubbles.
- Working with specific finishes.
- Restore surface shine.
- Correct minor defects.
- To facilitate certain processes during decoration.
So you probably won’t need it to put the pot on the stove, but you will need it when you actually start working on your pieces.
How is isomalt prepared?
This is one of the questions I receive most often:
“Mayte, what is the recipe for isomalt?”
And isomalt doesn’t really have a recipe like a cake might.
In a sponge cake we mix flour, eggs, fat, sugar…
With isomalt we are working with a raw material.
What we need to learn is:
cook it properly, control its temperature and then handle it.
My recommendation: cook a good amount
Here I want to break with a fairly common idea.
We might think:
“Since I only want to make four lollipops, I’ll cook a little bit of isomalt.”
I don’t recommend it.
Cooking very small quantities is more complicated because the temperature rises very quickly and it is much easier to burn the isomalt.
That’s why I prefer to cook a larger quantity.
Once properly cooked, the isomalt that we don’t need at that moment can be left to cool, portioned and stored.
Then, when you need it again, you’ll simply have to heat it up.
And this makes our work much easier.
Cooking and reheating are not the same thing
This concept is important when you’re starting out.
When we start with isomalt granules, we need to cook it and control the temperature with a thermometer.
But once that isomalt is properly cooked, we can let it cool, portion it, and reuse it.
When we need it again, we simply heat it until we get the right texture again.
Yes indeed:
We must not exceed 180ºC.
Although isomalt can be reheated without problems, each reheating can gradually affect its quality, transparency, and behavior.
That’s why it’s best to heat it only as much as necessary.
At what temperature does isomalt cook?
To properly prepare isomalt, we must bring it to approximately:
180 ºC
And here the thermometer is essential again.
But there is something important:
The fact that isomalt reaches 180°C does not mean that we have to use it immediately at that temperature.
After cooking it, we need to let it cool down.
And this is one of the most important parts when you learn to work with it.
Because we don’t use the same temperature for:
- Pour.
- Introduce certain elements.
- Working with decorations.
- Manipulate.
- Remove from the mold.
- Pocket.
Learning to work with isomalt is also learning to observe how it changes as the temperature decreases.
Don’t be in a hurry when it comes out of the fire
This mistake is very common.
We reached the correct temperature, removed the saucepan, and wanted to use the isomalt immediately.
But it’s still too liquid.
If you use it when it’s excessively hot, it can be much more difficult to control:
- The spill.
- The thickness.
- The movement of the decorations.
- The bubbles.
- The position of the stick.
In many jobs we need to let it rest and cool down slightly before we start using it.
Bubbles: welcome to the club 😂
You prepare your first lollipop.
You look at her.
And little bubbles appear everywhere.
It doesn’t mean that everything went wrong.
Bubbles may appear during cooking, handling, or pouring.
One of the first things you’ll learn is that isomalt doesn’t like to be disturbed too much.
The more we manipulate it unnecessarily, the more air we can introduce.
And here our friend the blowtorch reappears.
A quick wipe over the surface can help us remove small microbubbles.
Without dwelling on it.
We don’t want to melt the whole lollipop again.
Don’t stir the isomalt like you would a béchamel sauce.
There’s something almost automatic when we see something inside a saucepan:
remove.
Well, with isomalt, don’t worry.
You don’t need to be constantly stirring.
Excessive handling can introduce air and increase the appearance of bubbles.
So less spoon-feeding and more observing.
What dyes can I use?
If you want to color isomalt, use water-soluble dyes.
This is important.
We should not use just any coloring simply because it says “food grade” on the packaging.
When working with isomalt, we need the dye to be suitable for this medium.
And one more piece of advice:
Always start with a very small amount.
We want to control the color.
Especially if you’re looking for a transparent lollipop with a soft tint.
You can always add a little more.
Removing color once you’ve gone too far… then we have fewer options. 😂
Can I add flavor?
Yeah.
Isomalt is sweet, but it doesn’t have a specific flavor like strawberry, lemon, vanilla, or cream.
We can add food aromas or flavors.
Yes indeed:
Always check that the aroma is suitable for working with isomalt and that it is not oil-based.
Can I put flowers inside?
Yeah.
And they look beautiful.
But we must always use products suitable for food use and make sure that the flowers are properly dried.
Because here we find ourselves once again with the main protagonist of this article:
humidity.
We can also work with:
- Sprinkles.
- Botanicals.
- Edible prints.
- Other dry food items.
Always taking into account how they will react to the temperature of the isomalt.
Can I use any edible paper?
No.
We have different types of edible paper and not all of them work the same with isomalt.
For example:
Rice paper
It is very thin and does not withstand the temperature needed to work with lollipops.
Wafer paper
We found different thicknesses.
I recommend 0.6mm wafer paper for inserting designs inside lollipops.
The 0.3 mm one is too thin.
In addition, the wafer allows for very precise cutting of the outline of the designs.
Sugar paper
It can also be used with isomalt and offers very good image definition.
The drawback is that it makes cutting out designs more awkward, especially when we need to follow small shapes or outlines.
Therefore, the choice will depend a lot on the result you want to achieve.
Which mold should I use?
If you’re just starting out:
Make your life easy.
A round silicone mold is perfect to start with.
Don’t even think about trying to build the Taj Mahal out of isomalt on the first day. 😂
With a simple lollipop you can learn practically all the basic concepts:
- Temperature.
- Spill.
- Amount.
- Thickness.
- Placement of the stick.
- Bubble.
- Remove from the mold.
- Conservation.
Once you’ve got all that under control, there will be time to complicate things.
Can I use plastic molds?
No.
When working with hot isomalt, you should not use plastic molds.
The temperatures we work with can cause the plastic to:
- It melts.
- It is founded.
- It becomes deformed.
Humidity: isomalt’s biggest enemy
If you only remember one sentence from this article, I want it to be this one:
Humidity is isomalt’s biggest enemy.
Isomalt absorbs moisture from the environment.
When this starts to happen, we can observe:
- Loss of shine.
- Dull appearance.
- Sticky surface.
- Damp feeling.
- Progressive deterioration of the piece.
And this can happen much faster than we imagine if we live in an area with high ambient humidity.
Don’t wait until the lollipop is completely cold before putting it in a bag.
This is one of those tricks you learn by working.
The lollipop should not be bagged while hot.
If it’s still too hot, you can:
- Warp.
- Generate condensation inside the bag.
But we also shouldn’t leave it on the table until it’s completely cool if we’re working in a humid environment.
Because while he’s there…
It is already absorbing moisture.
The correct point to bag it is:
temperate and firm.
It has lost enough temperature not to deform, but it has not yet been exposed to the environment for too long.
How do I store lollipops?
Once finished:
- Bag them individually.
- Protect them from the environment.
- Store them in a watertight box.
- Avoid direct sunlight.
- Avoid sources of heat.
- Don’t put them in the refrigerator.
- It especially controls humidity.
If you work in a humid area, one of the best solutions is to prepare a dehumidifying box with calcium chloride.
The structure I use is simple:
Paper → thin layer of calcium chloride → paper → bagged lollipops.
Chloride should never come into direct contact with lollipops.
Its function is to absorb moisture from the box.
Why don’t we keep the lollipops in the refrigerator?
Because we don’t need cold.
We need dryness.
When we take a cold item out and place it in a warmer environment, we can generate condensation.
And if there’s one thing we don’t want around isomalt, it’s water.
Why does my stick stay bent?
Because when we start, we want to do six things at once.
We pour.
We’re looking for the stick.
We put the flowers.
We take the sprinkles.
We looked for the blowtorch.
And when we look again…
The stick is on a trip. 😂
The solution is simple:
Prepare absolutely everything before starting.
Keep close:
- Mold.
- Sticks.
- Decorations.
- Tweezers.
- Blowtorch.
- Gloves.
- Bags.
- Tools.
When the isomalt is ready, we no longer want to be opening drawers.
When can I unmold it?
Don’t rush.
The piece must acquire sufficient consistency to maintain its shape.
If you unmold it too soon, you can deform it.
But also remember that once unmolded, it’s not a good idea to leave it exposed to the air for too long.
Especially if the environment is humid.
What do I do if a lollipop loses its shine?
First we need to know what the cause is.
It may be related to:
- Humidity.
- Temperature.
- Handling.
- Conservation.
If we only find a slight loss of surface shine, the blowtorch can help us recover the finish.
A quick and controlled pass.
We don’t want to remelt the entire piece.
What if it gets sticky?
The first suspect should be humidity.
Check:
- How long has it been exposed?
- Ambient humidity.
- How did you package it?
- If the bag was properly closed.
- If the box where you store it is airtight.
We often blame the cooking process when the real problem occurred later.
Can I reheat isomalt?
Yeah.
Isomalt can be reheated without any problem.
In fact, this is one of the reasons why I prefer to cook a large quantity, portion it out, and use it little by little.
The important thing when we reheat it is:
do not exceed 180 ºC.
We don’t need to cook it again from scratch.
We just need to heat it until it regains the consistency necessary to work with.
However, we must keep in mind that each reheating can progressively affect its quality, transparency, and behavior.
That’s why it’s important to heat it properly and avoid unnecessary heating cycles.
10 common mistakes when starting out with isomalt
If you’re just starting out, try to avoid these:
- Cook without a thermometer.
- Cooking too small quantities and ending up burning them.
- Use a saucepan with traces of grease.
- Stir constantly.
- Working without having the materials prepared.
- Use dyes that are not water-soluble.
- Use plastic molds instead of silicone.
- Using unsuitable edible paper.
- Leaving lollipops exposed to moisture for too long.
- To think that the first batch will look like it was made by someone who has been working with isomalt for years.
Because probably not. 😂
Some will have bubbles.
Another one will have a crooked stick.
Another one will be thicker on one side than the other.
And there will probably be some that you wouldn’t even want to show your family.
No problem.
You learn from those too.
My advice if you’re going to start today
Don’t try to master ten techniques on the first day.
First, learn the basic process:
Cook → control temperature → pour → insert the stick → unmold → bag → store.
Then add color.
Then aroma.
Then flowers.
More impressions later.
And little by little you can incorporate new techniques.
Because when you start to understand how isomalt responds, working with it changes completely.
Stop seeming unpredictable.
And it starts to become a really fun material to create with.
Frequently Asked Questions about Isomalt for Beginners
Do I need a thermometer?
Yeah.
A thermometer is essential for cooking isomalt.
We need to make sure it reaches the right temperature and avoid exceeding 180°C.
Is it better to cook a small amount when I’m starting out?
Not necessarily.
In fact, cooking very small quantities can be more complicated because they increase in temperature very quickly and are easier to burn.
I prefer to cook a larger quantity, portion out what’s left over, and reheat what I need later.
Do I need a ladle just for isomalt?
No.
But it has to be perfectly clean and, above all, free of any traces of grease.
Can I use plastic molds?
No.
Use silicone molds suitable for high temperatures.
What dyes do I use?
Water-soluble dyes.
Can isomalt be reheated?
Yeah.
You can reheat it when you need to, taking care not to exceed 180ºC.
Keep in mind that repeated reheating may affect its quality and transparency.
When should I bag the lollipops?
When they are lukewarm and firm.
Not too hot because they can warp or generate condensation, but it’s also not advisable to let them cool completely in a very humid environment.
Do I need a blowtorch?
No, not for cooking isomalt.
To work properly with decorations, I do consider it necessary.
Can I use sugar paper?
Yeah.
It has very good image definition, although it can be more inconvenient to cut out designs and outlines than with the wafer.
The most important thing before starting
Working with isomalt is not simply a matter of melting some grains and pouring them into a mold.
We have to understand it.
Learning to recognize:
When has it reached its temperature?
When can we use it?
When it’s too liquid.
When can we manipulate it?
When should we unmold it?
When to bag.
How to protect it from moisture.
And how to reheat it when we need it.
At first you will constantly look at the thermometer.
With experience you will also begin to recognize its texture, its density and the way it falls.
And that’s when you really start to enjoy it.
Because you stop thinking:
“Let’s see what the isomalt does today…”
And you start saying:
“I know exactly what I need you to do.” 😉
Do you want to keep learning?
After reading this guide, you can continue with other articles on the blog:
- How to properly cook isomalt
- How to preserve isomalt lollipops
- How to protect isomalt from moisture
- Which edible paper to choose for lollipops
- How to remove microbubbles with a blowtorch
- How to work with edible prints
And if you want to learn the whole process in an organized, step-by-step way, you can also check out my online isomalt courses.
Because the better you understand isomalt, the less complicated it seems…
And you’ll think of so many more things to do with it. ✨



Leave A Comment